
A practical walk through of the managed harness: model, prompt, tools, limits and a clean path to code
In this article
- When the harness is the right starting point
- Step 1: Install the AgentCore CLI
- Step 2: Create a harness project
- Step 3: Invoke it
- Step 4: Attach the tools that matter
- Step 5: Set limits before anyone else uses it
- Step 6: Experiment without redeploying
- Step 7: Observe, then tear down cleanly
- What it costs
- When to graduate to code
- A sensible first week
- How Signiance helps
Most first agents die in the plumbing. A founder has a clear job for the agent, say researching leads or triaging support tickets, and then spends two weeks writing the reasoning loop, wiring tool calls, handling streaming, picking a container setup and figuring out where session state lives. By the time it works, the original question (is this agent actually useful?) still has not been answered.
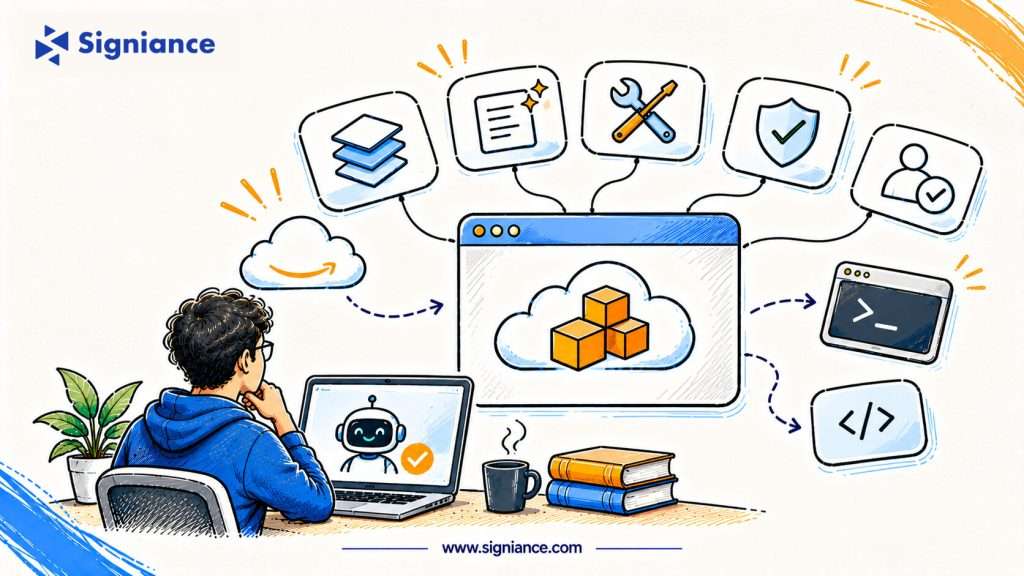
The managed harness in Amazon Bedrock AgentCore removes most of that plumbing. AWS made it generally available on June 17, 2026, in all commercial Regions where AgentCore is available. You declare an agent as configuration: a model, a system prompt and a list of tools. The harness runs the full agent loop for you: reasoning, tool selection, action execution and response streaming. Each session gets its own isolated microVM with a filesystem and a shell.
This guide walks through building a first agent with the AgentCore CLI, attaching real tools, setting sensible limits, and knowing when to graduate to code.
When the harness is the right starting point
The harness fits best when the value of your agent is in what it does, not in custom orchestration logic. Good first candidates:
- A research agent that browses, reads and summarizes
- An internal ops agent that calls your existing APIs through a gateway
- A data helper that runs Python in a sandbox to answer questions about a CSV
- A support triage agent that classifies tickets and hands risky actions back to a human
It is a weaker fit when you already know you need multi-agent coordination, specialised routing or a hand-tuned control loop. Even then, starting on the harness is cheap, because you can export the agent to code later on the same compute and primitives.
Step 1: Install the AgentCore CLI
The CLI is an npm package. You need Node.js 20 or later, AWS credentials configured locally, and uv if you plan to work with Python agents later.
npm install -g @aws/agentcore
agentcore --version
aws sts get-caller-identity
One common gotcha: if agentcore --version errors, an older Python package called bedrock-agentcore-starter-toolkit may be shadowing the new CLI. Uninstall it with pip uninstall bedrock-agentcore-starter-toolkit and open a new terminal.
Your IAM identity needs AgentCore API permissions and permission to assume the CDK bootstrap roles, because the CLI deploys through infrastructure as code. The first deploy takes a few minutes while CDK bootstraps the account.
Step 2: Create a harness project
The fastest path is a single command. When you create a project with only a name, the CLI builds a managed harness project (not a code-based one).
agentcore create --name MyResearchAgent
cd MyResearchAgent
agentcore deploy
If you want explicit control over the model, prompt and tools from the start, create an empty project and add the harness yourself:
agentcore create --name ResearchAgentProject --template empty
cd ResearchAgentProject

agentcore add harness \
  --name researcher \
  --model '{"provider":"bedrock","modelId":"global.anthropic.claude-sonnet-4-6"}' \
  --system-prompt "You are a research assistant." \
  --tools '[{"type":"agentcore_browser","name":"browser"}]'

agentcore deploy
After add harness, the definition lives in your repo. The harness settings are in app/<name>/harness.yaml, which uses the same field names as the CreateHarness API, and the system prompt is in app/<name>/system-prompt.md. Edit either file and run agentcore deploy to change the defaults permanently. That gives you code review on prompt changes, which matters more than most teams expect.
Before you deploy, check that your account has access to the model ID you choose. The CLI fills in defaults, but a default is not a guarantee of model access.
Step 3: Invoke it
Run a single prompt, or omit --prompt to open an interactive chat:
agentcore invoke --harness researcher \
  --session-id "$(uuidgen)" \
  --prompt "Find three recent public case studies of startups using AI agents for support triage."
From your application, call the data plane API. The runtimeSessionId must be at least 33 characters, so a UUID works well.
import boto3, uuid

client = boto3.client("bedrock-agentcore", region_name="us-west-2")

response = client.invoke_harness(
    harnessArn=HARNESS_ARN,
    runtimeSessionId=str(uuid.uuid4()),
    messages=[{"role": "user", "content": [{"text": "Summarize this week's top AWS AI launches."}]}],
)

for event in response["stream"]:
    if "contentBlockDelta" in event:
        delta = event["contentBlockDelta"].get("delta", {})
        if "text" in delta:
            print(delta["text"], end="", flush=True)
    elif "runtimeClientError" in event:
        print(f"\nError: {event['runtimeClientError']['message']}")
Reuse the same session ID to continue a conversation. Because each session has its own microVM and filesystem, files the agent wrote earlier in the session are still there on the next turn.
Step 4: Attach the tools that matter
Every harness has built-in shell and file_operations tools by default. On top of those, the harness supports five tool types:
| Tool type | Use it for | Config key | | — | — | — | | agentcore_browser | Reading and acting on web pages | none | | agentcore_code_interpreter | Running Python in a sandbox | none | | remote_mcp | Any MCP server reachable by URL | remoteMcp.url | | agentcore_gateway | Your own APIs and Lambda functions, governed | agentCoreGateway.gatewayArn | | inline_function | Actions your app executes client side | inlineFunction.inputSchema |
For most startups, the gateway is the important one. It puts your internal APIs behind one governed MCP endpoint with IAM or OAuth outbound auth, so the agent never holds raw credentials:
agentcore add harness \
  --name ops_agent \
  --tools '[
    {"type":"agentcore_code_interpreter","name":"code-interpreter"},
    {"type":"agentcore_gateway","name":"my-gateway","config":{"agentCoreGateway":{"gatewayArn":"arn:aws:bedrock-agentcore:us-west-2:123456789012:gateway/my-gateway","outboundAuth":{"awsIam":{}}}}}
  ]'
agentcore deploy
Inline functions are your human-in-the-loop lever. When the model calls one, the turn ends with stopReason set to tool_use. Your application decides what to do (show an approval button, run a check), then returns a toolResult on the same session. This is the cleanest way to keep refunds, deletes and outbound emails behind a person.
You can also narrow what the model is allowed to pick with allowedTools. If an agent never needs a shell, take it away. Each tool definition costs input tokens on every request, and AWS notes the default shell and file tools add roughly 900 input tokens per model call.
Step 5: Set limits before anyone else uses it
An agent without limits is a cost incident waiting to happen. The harness exposes the controls you need, with these defaults:
maxIterations: 75 loop stepstimeoutSeconds: 3600idleRuntimeSessionTimeout: 900 secondsmaxLifetime: 28800 seconds
For a first production agent, tighten them:
agentcore add harness --name bounded_agent \
  --max-iterations 50 \
  --timeout-seconds 1800 \
  --max-tokens 8192 \
  --truncation '{"strategy":"sliding_window"}' \
  --lifecycle-config '{"idleRuntimeSessionTimeout":600,"maxLifetime":14400}'
Truncation accepts sliding_window, summarization or none. Sliding window is predictable. Summarization keeps more context on long tasks but costs an extra model call.
Watch the stream’s stopReason. Values like max_iterations_exceeded and timeout_exceeded tell you the agent hit a guardrail rather than finished, which is exactly the kind of silent failure that never throws an error.
Step 6: Experiment without redeploying
Any setting from create time can be overridden on a single invocation. That makes prompt and model experiments cheap:
response = client.invoke_harness(
    harnessArn=HARNESS_ARN,
    runtimeSessionId=SESSION_ID,
    systemPrompt=[{"text": "You are a terse research assistant. One paragraph answers only."}],
    tools=[{"type": "agentcore_browser", "name": "browser"}],
    messages=[{"role": "user", "content": [{"text": "Compare these two vendors."}]}],
)
The harness is model agnostic. Bedrock models are configured with bedrockModelConfig, and the docs also cover OpenAI and any LiteLLM-compatible provider, with API keys stored in AgentCore Identity rather than in your code. You can switch providers between turns in the same session without losing context. Run the same evaluation questions across two models and two prompts, and pick on evidence instead of opinion.
Step 7: Observe, then tear down cleanly
Deploying configures CloudWatch logging and observability. From the CLI:
agentcore logs
agentcore traces list
agentcore traces get <trace-id>
agentcore status
When you are done with an experiment, remove everything and redeploy the empty state so the stack is torn down:
agentcore remove all --yes
agentcore deploy --yes
What it costs
There is no separate charge for the harness, the CLI or skills. You pay standard rates for the underlying AgentCore capabilities and model tokens. AgentCore Runtime bills on active consumption per second, and CPU is not charged while the agent waits on I/O such as model responses and tool calls, which is most of an agent’s life. Gateway, Memory and Browser are billed on their own meters, so check the AgentCore pricing page for current rates before you size a budget.
When to graduate to code
Move off the config harness when you need custom orchestration, specialised routing or multi-agent coordination. A single command exports the harness to Strands-based Python code:
agentcore export harness --name researcherRead the generated EXPORT_NOTES.md before deploying. Model config, limits, remote MCP and inline tools carry over, but Gateway, Browser and Code Interpreter tools need to be re-wired in code. Plan for that half day instead of discovering it on release day.
A sensible first week
- Day 1: install the CLI, create a harness, invoke it with five real questions from your users
- Day 2: attach one gateway target to a real internal API, with IAM outbound auth
- Day 3: add an inline function for the one action that needs a human
- Day 4: set limits and write ten evaluation prompts with expected outcomes
- Day 5: compare two models on those prompts, then decide whether this agent earns a place in the product
How Signiance helps
Signiance is an AWS Advanced Tier Partner working with startups in India and Australia on AI Native Engineering and Generative AI on AWS. We help teams pick the first agent worth building, design the gateway and identity layer around existing APIs, set cost and safety limits, and add the evaluations that let you ship with confidence. When an agent outgrows config, we handle the move to code without a rebuild.
If you want your first AgentCore agent in front of real users in weeks rather than quarters, book a free consultation or a free AI Native readiness assessment at Signiance.com