
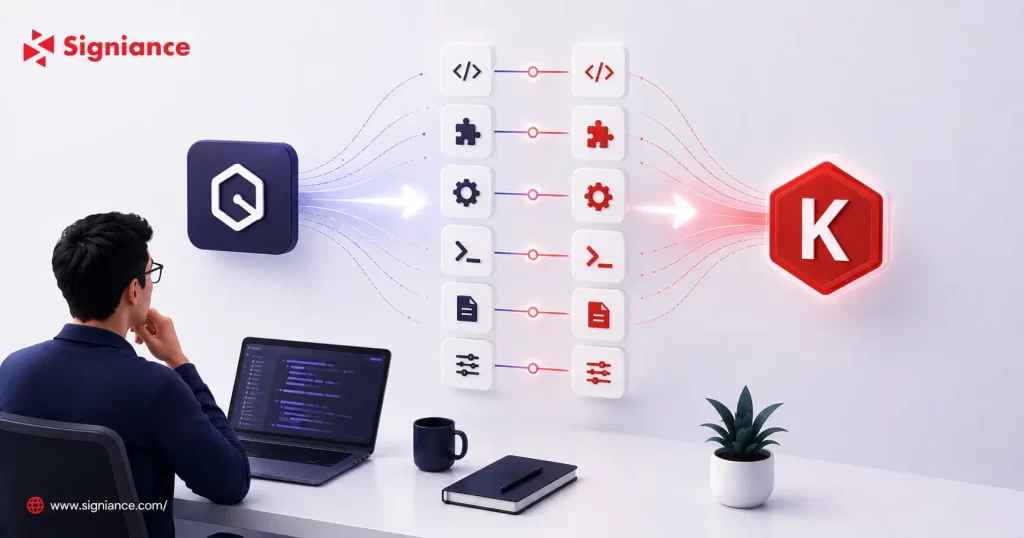
Move your existing Amazon Q Developer workflow to Kiro with minimal disruption, while preserving your tools, settings, & development habits
Migrating from Amazon Q Developer to Kiro is more straightforward than a typical tool replacement because Kiro builds on technology and workflows familiar to Q Developer users. This guide walks through the migration process, explains what carries over, what changes, and how to validate your setup before making Kiro your team’s primary development environment.
Table of Contents
- Topic Introduction
- Why Migrate from Amazon Q Developer to Kiro
- How to Plan the Migration
- When to Migrate
- Top 8 Steps to Migrate from Amazon Q Developer to Kiro
- Conclusion
Topic Introduction
Amazon Q Developer and Kiro are closely related, but they are not identical products. AWS describes the Q Developer CLI as having been rebranded to Kiro, while Kiro has also developed into a broader development environment with IDE, CLI, Spec, hooks, steering, MCP, and other capabilities.
For teams already using Amazon Q Developer, the practical question is not whether to throw away the existing workflow. The better approach is to migrate in controlled steps, verify authentication and configuration, move project rules where required, and then introduce Kiro features gradually.
Why Migrate from Amazon Q Developer to Kiro
- Existing familiarity: Kiro retains important capabilities from Amazon Q Developer, including MCP, custom agents, and agent-based development workflows.
- Structured development: Kiro adds Spec-driven development for teams that want requirements, design, and implementation tasks represented explicitly.
- More controls: Kiro supports features such as steering files, hooks, custom subagents, and powers that were not available in the Amazon Q Developer IDE extension.
- Existing CLI continuity: Amazon Q Developer CLI users can migrate to Kiro CLI while retaining existing workflows, subscriptions, and authentication.
- AWS support: AWS documentation confirms that Amazon Q Developer users can upgrade to Kiro and continue using the associated subscription and account structure.
How to Plan the Migration
| Area | Before Migration | Migration Action | Validation |
|---|---|---|---|
| IDE | Amazon Q extension | Install Kiro IDE | Open a project successfully |
| VS Code | Existing profile | Import settings and extensions | Confirm extensions and keybindings |
| CLI | Q CLI | Install Kiro CLI | Run Kiro CLI successfully |
| Authentication | Q credentials | Sign in with supported method | Confirm account and access |
| MCP | Q MCP configuration | Migrate or recreate configuration | Test each important server |
| Rules | Amazon Q rules | Move to Kiro steering where appropriate | Confirm instructions are applied |
| Agents | Existing agents | Review migrated configuration | Test representative tasks |
| Workflow | Q Developer habits | Introduce Kiro features gradually | Compare development results |
Kiro’s official migration documentation should be treated as the source of truth because the migration behavior and supported features can change as Kiro evolves.
When to Migrate
| Timing | Recommended Action | Goal |
|---|---|---|
| Day 1 | Install Kiro beside existing workflow | Avoid immediate disruption |
| Day 2 | Import settings and authenticate | Confirm the environment |
| Day 3 | Test MCP, agents, and project rules | Identify configuration gaps |
| Day 4 | Run one real development task | Validate practical performance |
| Day 5 | Introduce Spec workflow | Test structured development |
| Week 2 | Standardize team configuration | Establish repeatable usage |
| After validation | Retire unnecessary Q tooling | Simplify the development environment |
A staged migration is particularly useful for teams with custom MCP servers, project rules, custom agents, or automation. It gives developers a fallback while configuration is being checked.
Top 8 Steps to Migrate from Amazon Q Developer to Kiro
1. Identify Your Current Amazon Q Developer Setup
- List extensions: Record which Amazon Q Developer extensions your developers currently use.
- Check CLI usage: Identify whether the team also uses Q Developer CLI.
- Document configuration: Record MCP servers, rules, agents, and custom settings.
- Review authentication: Note whether users authenticate through Builder ID, IAM Identity Center, or another supported method.
- Map workflows: Separate simple coding assistance from more complex agent workflows.
2. Install Kiro for Your Development Environment
- Choose IDE: Install Kiro IDE if developers want an integrated editor experience.
- Choose CLI: Install Kiro CLI for terminal-based workflows.
- Keep Q available: During migration, avoid removing the existing setup immediately.
- Check platform: Kiro currently supports macOS, Windows, and Linux, with documented platform requirements.
- Use official installers: Download Kiro from the official Kiro site to avoid unsupported installation paths.
3. Import Your VS Code Profile
- Use the first launch: Kiro prompts users to import an existing VS Code profile during initial setup.
- Carry extensions: Existing compatible extensions can be brought into Kiro.
- Carry settings: VS Code settings can be imported during onboarding.
- Carry keybindings: Existing keybindings can also be transferred.
- Review compatibility: Check important extensions after migration instead of assuming every extension behaves identically.
Kiro is based on Code OSS, and its documentation states that VS Code settings, themes, and compatible plugins can be imported during onboarding.
4. Sign In With the Appropriate Account
- Select authentication: Kiro supports several authentication methods, including GitHub, Google, AWS Builder ID, and IAM Identity Center.
- Check subscriptions: Confirm that the expected subscription is available after sign-in.
- Check organization access: Enterprise users should verify their organization’s Kiro configuration.
- Test permissions: Run a basic task before configuring advanced workflows.
- Avoid duplicate accounts: Confirm developers are using the intended identity before troubleshooting missing access.
AWS states that Amazon Q Developer Pro customers can retain their Q Developer Pro benefits when accessing Kiro with the same credentials.
5. Migrate Your Q Developer CLI Configuration
- Install Kiro CLI: Use the current Kiro CLI installation process.
- Preserve prompts: Existing prompts and agents from ~/.aws/amazonq are copied to ~/.kiro.
- Migrate MCP: Kiro copies the Q Developer MCP configuration into its Kiro settings location.
- Move rules: Files in the Q Developer rules directory are copied into Kiro’s steering directory.
- Keep project files: Existing .amazonq project configuration continues to work during the migration.
Kiro’s official CLI migration guide documents this one-time migration behavior and states that q and q chat continue to work, although Kiro recommends using kiro-cli.
6. Check MCP Servers and Custom Agents
- Test MCP first: Verify that each important MCP server connects correctly.
- Check conflicts: Kiro’s migration process can skip MCP servers when configuration conflicts occur.
- Review agents: Confirm migrated agent configurations behave as expected.
- Test permissions: Make sure tools have the access they require.
- Run real tasks: Validate MCP and agents against a representative project instead of a simple test prompt.
Kiro supports MCP in both its IDE and CLI, while the migration documentation explains how existing Q Developer MCP configuration is handled.
7. Move From Q Rules to Kiro Steering
- Locate rules: Identify project and global Amazon Q rules currently used by your team.
- Understand steering: Kiro uses steering files to provide persistent development instructions.
- Review content: Remove outdated rules before moving them.
- Check project priority: If both .kiro and .amazonq folders exist, Kiro’s documented behavior gives precedence to .kiro.
- Test instructions: Run a development task to confirm Kiro follows the expected project guidance.
Kiro’s CLI migration documentation states that project .amazonq configuration remains readable, while new prompt and agent configuration is stored in .kiro.
8. Introduce Kiro Specs After the Basic Migration
- Start simple: Do not introduce every Kiro feature on the first day.
- Choose one feature: Test Spec-driven development on a medium-sized feature.
- Review requirements: Check generated requirements before implementation.
- Review design: Validate the proposed technical approach.
- Execute tasks: Run implementation tasks only after the plan is accepted.
Kiro’s Spec workflow is designed to move from requirements to design and then implementation tasks, making it different from a direct conversational coding workflow.
Conclusion
Migrating from Amazon Q Developer to Kiro does not need to be a disruptive replacement project. Start with the IDE or CLI migration, verify authentication and configuration, test MCP and agents, then introduce Spec workflows after the core environment is stable. For help designing an AWS-based AI development workflow around your engineering team, contact Signiance Technologies.